Showing posts with label no-dig. Show all posts

Thursday, 8 May 2014

Perennial Kale Cuttings

Perennial vegetables have loads of advantages to both the gardener and the planet. Where perennial crops are grown the soil can relax and get on with being great soil with abundant microlife, while ploughed soils for annual crops lose their vitality and are more prone to leaching and erosion. An area filled with perennial plants, which mimics nature, supports much more wildlife than an area that's replanted each year or each season. For the gardener, perennials save on labour and often need less care thanks to their extensive established root systems, and plants tend to suffer less from insect damage. Perennial food plants also get a head start on the new season and can help fill the 'hungry gap' around this time of year, after the winter crops have finished but before the summer ones are ready.

The perennial Daubenton's kale I bought from Backyard Larder last year did really well and was tasty and productive, putting out new shoots at every leaf node, but I neglected to give it the support it needed and it ended up a bit unruly and bent-over - and I had to move it to a pot early this spring to make way for a new raised bed.


Towards the end of the winter it put out loads of new shoots all up and down the main stem, and I saw the opportunity to propagate some new plants from it, to add to my new perennial patch on the allotment and perhaps to replace this original one if it didn't make a good recovery.


I'd never taken cuttings before and I couldn't really find any information on how to take brassica cuttings online, but in January I carefully cut a few shoots from the plant, poked holes in some soil in a deep tray, popped the cuttings in and firmed them down. I left them outside in the cold and made sure to keep them moist. They wilted a bit and some of the outer leaves died off, but then they perked up again and seemed sort of healthy.


When I lifted them after a few weeks, however, they still hadn't formed any roots. So I tucked them back into the soil and tried a second batch, using bigger shoots this time as I thought perhaps they'd have more energy. They looked even worse than the first lot had!


I stuck with both batches though, and after another month or so I noticed some looked different to the others; some looked blueish and dark, while others were a brighter green. I lifted them again and sure enough, the greener ones had lovely white healthy roots.


Another month on, all seven plants have now rooted and are potted up and doing well, albeit at different stages of development! Some of them took as little as four weeks and others took nearly four months, but it just goes to show that a little patience and care pays off. The most important thing is to keep the soil moist and the slugs away! The original plant is now propped up and doing well again but still stuck in a pot, waiting for a new home, and I'm looking forward to planting my new perennial kale plants out on the plot and giving the rest away at our allotment association plant swap this weekend!  :-)


Friday, 11 April 2014

Complete Organic Fertiliser

My last post, Grow Your Own Nutrition, was all about how I'm intending to remineralise my soil for the best results in my garden and allotment, and how it's really all about feeding the soil, not the plants - if you missed it please do take a look. The best way to remineralise a soil is to send off a soil sample to a lab, find out exactly what it's got and calculate exactly what it needs, and my new favourite book The Intelligent Gardener can help to do that. But The Intelligent Gardener offers a simpler one-size-fits-all solution too, and because I've got a lot else going on this spring and I could really do with another read-through of the book before I jump in too deep, I've decided to use this recommended 'Complete Organic Fertiliser' (COF) for my plot this year. Steve Solomon, the author, stresses that COF has its limitations and can cause its own imbalances if used year on year, but promises much better results - better growth, better plant health, better flavour and far more nutritious food - than with the conventional organic way of feeding soil just with compost and manure.

There's a version of the COF recipe online here in Solomon's own words, so it can't hurt to share the recipe I've settled on with you here. In the book, Solomon recommends a few other optional additions, but I'm keeping it simple this year and sticking to the main ingredients below:

4 parts seedmeal
Seedmeal is what's left over when oils are pressed, and added to soil it provides a natural, highly-effective, slow-release source of nitrogen as the soil organisms feed on it.

1/3 part lime, 1/3 part dolomite lime, 1/3 part gypsum
The lime provides calcium - probably the most important soil mineral - while the dolomite and gypsum provide more calcium plus doses of magnesium and sulphur, respectively.

1 part bonemeal
This provides phosphorus. There are other things you could use, such as hard or soft rock phosphate - arguably better as it doesn't contain the sodium that bonemeal does - but bonemeal is more sustainable and more easily available, and soil needs a little sodium anyway.

1 part seaweed meal
Seaweed meal is rich in trace elements and also provides plant hormones which boost plants' natural defences.

This mix is to be applied once a year, at a rate of 4-6 litres per 100 square feet, along with a modest amount of compost or manure. If the thought of adding lime to soil every year challenges you, or you're wondering why there's no potassium in the mix (actually, there's just a little in the seedmeal), do go back and read my previous post!


Bonemeal and lime were easy to find in a garden centre, and I ordered the seaweed meal, dolomite and gypsum from The Organic Gardening Catalogue. The seedmeal presented a bit more of a challenge: it's apparently sold as animal feed in the US and Tasmania, where Solomon lives, but here in the UK I struggled to find it anywhere - but I eventually found a friendly local farmer growing rapeseed for oil who was happy to sell me a couple of big bagfuls. It came as quite large pellets, which wouldn't mix well with the powdered ingredients, so I've been stomping on it in a washing up bowl to smash the pellets up.


They don't break down completely - it'd take ages! - but it's a big improvement. I found using a stick blender worked really well too - until the thing overheated. Now I have to buy a new stick blender... Doh!


I've been making COF in small 7 litre batches using 1 litre as 1 part - partly because I have only ordinary-sized buckets to mix it in, partly because I'm using it bit-by-bit anyway as each bed gets prepared for planting, and partly to reduce any effects of the stuff not mixing together evenly: if I find a pile of seedmeal pellets at the bottom of the bucket it's easy enough to remedy on a small area.

It's dusty stuff, and I've had to be careful to mix it (and spread it) when winds are low to stop all the gypsum and dolomite blowing away!


Solomon recommends digging it into the soil, but it can also just be raked into the surface for no dig plots like (most of) mine.

I've spread it over much of the plot already and I intend to use it everywhere. It's too early to see the results, but you can be sure I'll keep you posted!

Monday, 31 March 2014

Got Mycorrhizae?

Fungi are amazing organisms. They're everywhere, but their lives go on unseen, in secret, for the most part. They're crucial for decomposition and recycling of waste. They grow like plants but are made of chitin like insects and other invertebrates and, just like humans, they produce vitamin D when exposed to sunlight - in fact, some consider fungi to be more closely related to animals than to plants. They can absorb toxic waste and chemical pollutants, using them as food and rendering them harmless. They can MAKE IT RAIN! Their rootlike mycelium - the main body of the organism - can spread underground for miles (the largest fungus on earth is believed to be a honey fungus which covers nearly nine square kilometres in Oregon's Blue Mountains!) while the mushrooms and toadstools we see on the surface are just their flowers and fruits! And it's fungi that form the vast underground network which scientists believe allows plants to communicate, warning each other of pest attack and other troubles.

These mycorrhizal fungi - fungi which connect to the roots of plants and form a symbiotic relationship with them - have other benefits for their hosts too; a vast mycelium acts as a secondary root system for a plant, bringing nutrients and water from far deeper and further away, effectively increasing its root system by up to 700 times! Plants with roots colonised by mycorrhizal fungi establish faster, grow better thanks to the additional nutrients, have more resistance to pests and disease, and suffer less in drought. It's estimated that 90% of land plants have associations with these fungi. Just one gram of woodland soil can contain over a million microscopic fungi, and in one square inch of decomposing organic matter, such as a decaying tree trunk, there can be 70 miles of mycelium. The stuff is everywhere!

Well, not everywhere. Guess where you won't find mycorrhizal fungi...

You won't find it in the kind of sterile shop-bought compost you raise young plants in. And you won't find it on highly-cultivated, regularly disturbed allotment soil. Nope.

So I think it's pretty cool that you can now buy it in a packet. :-)


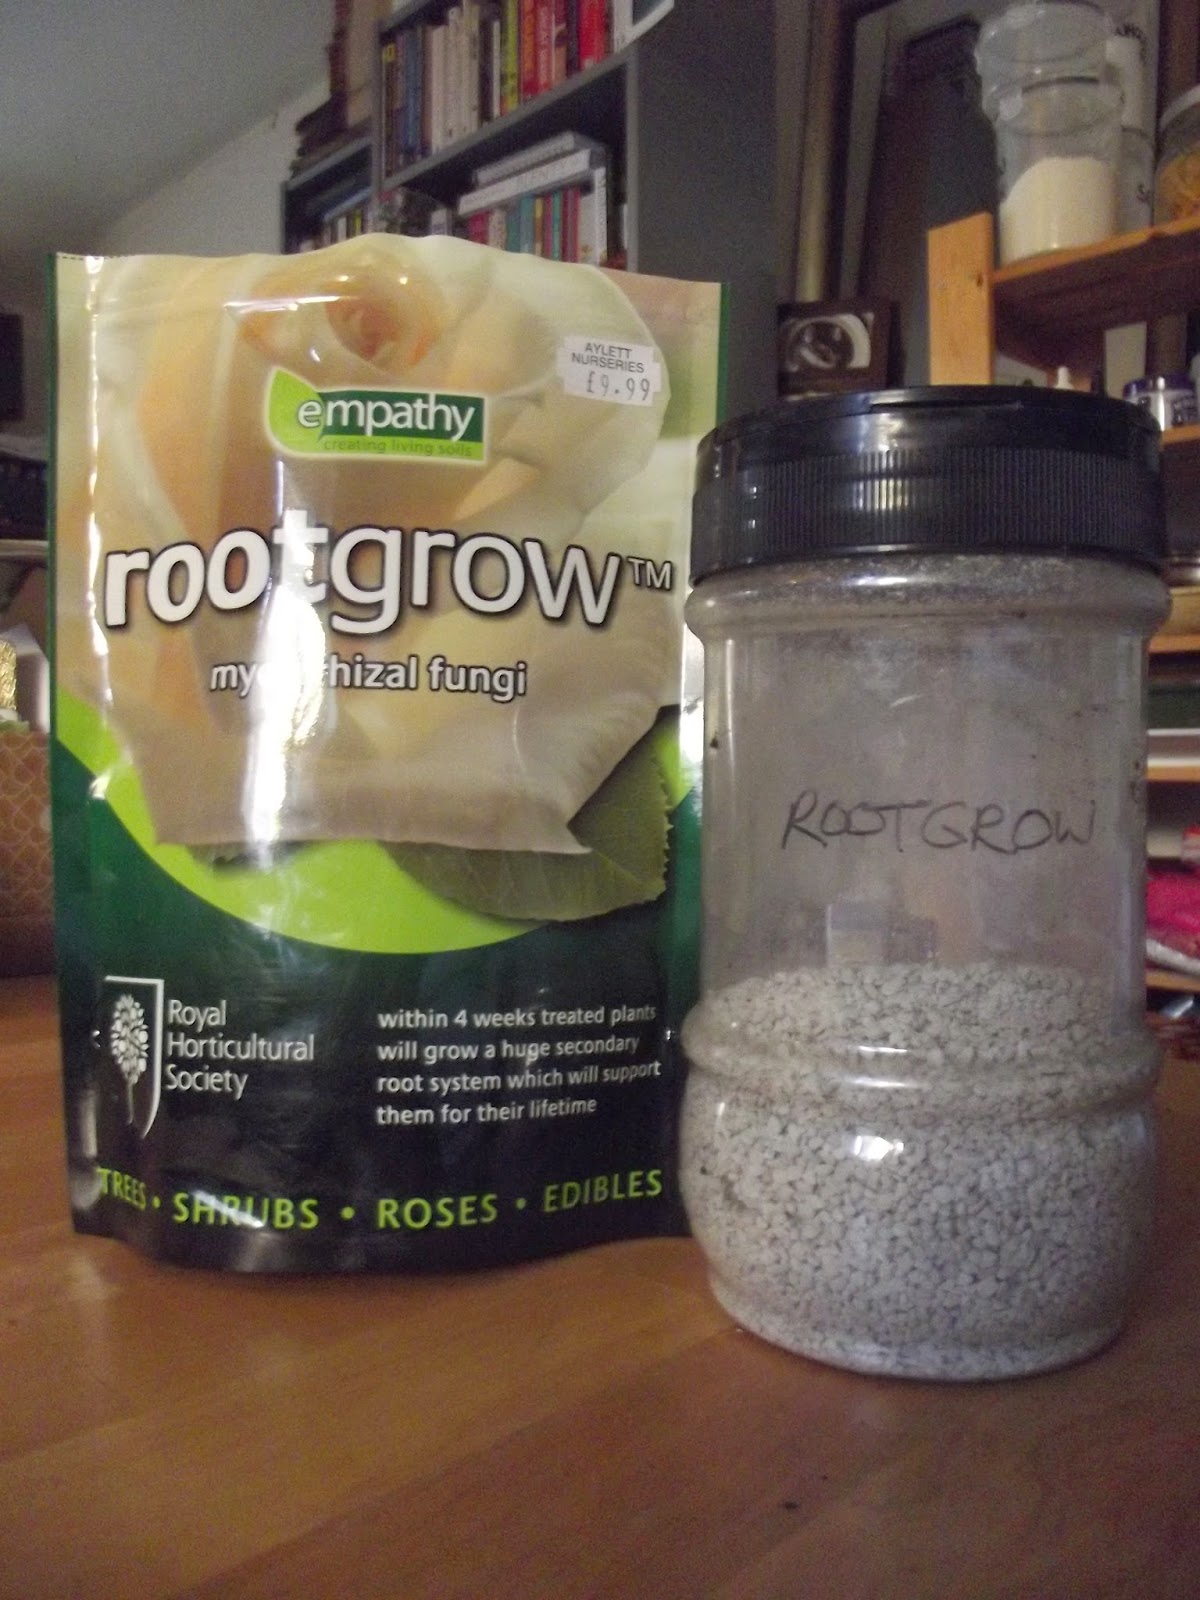
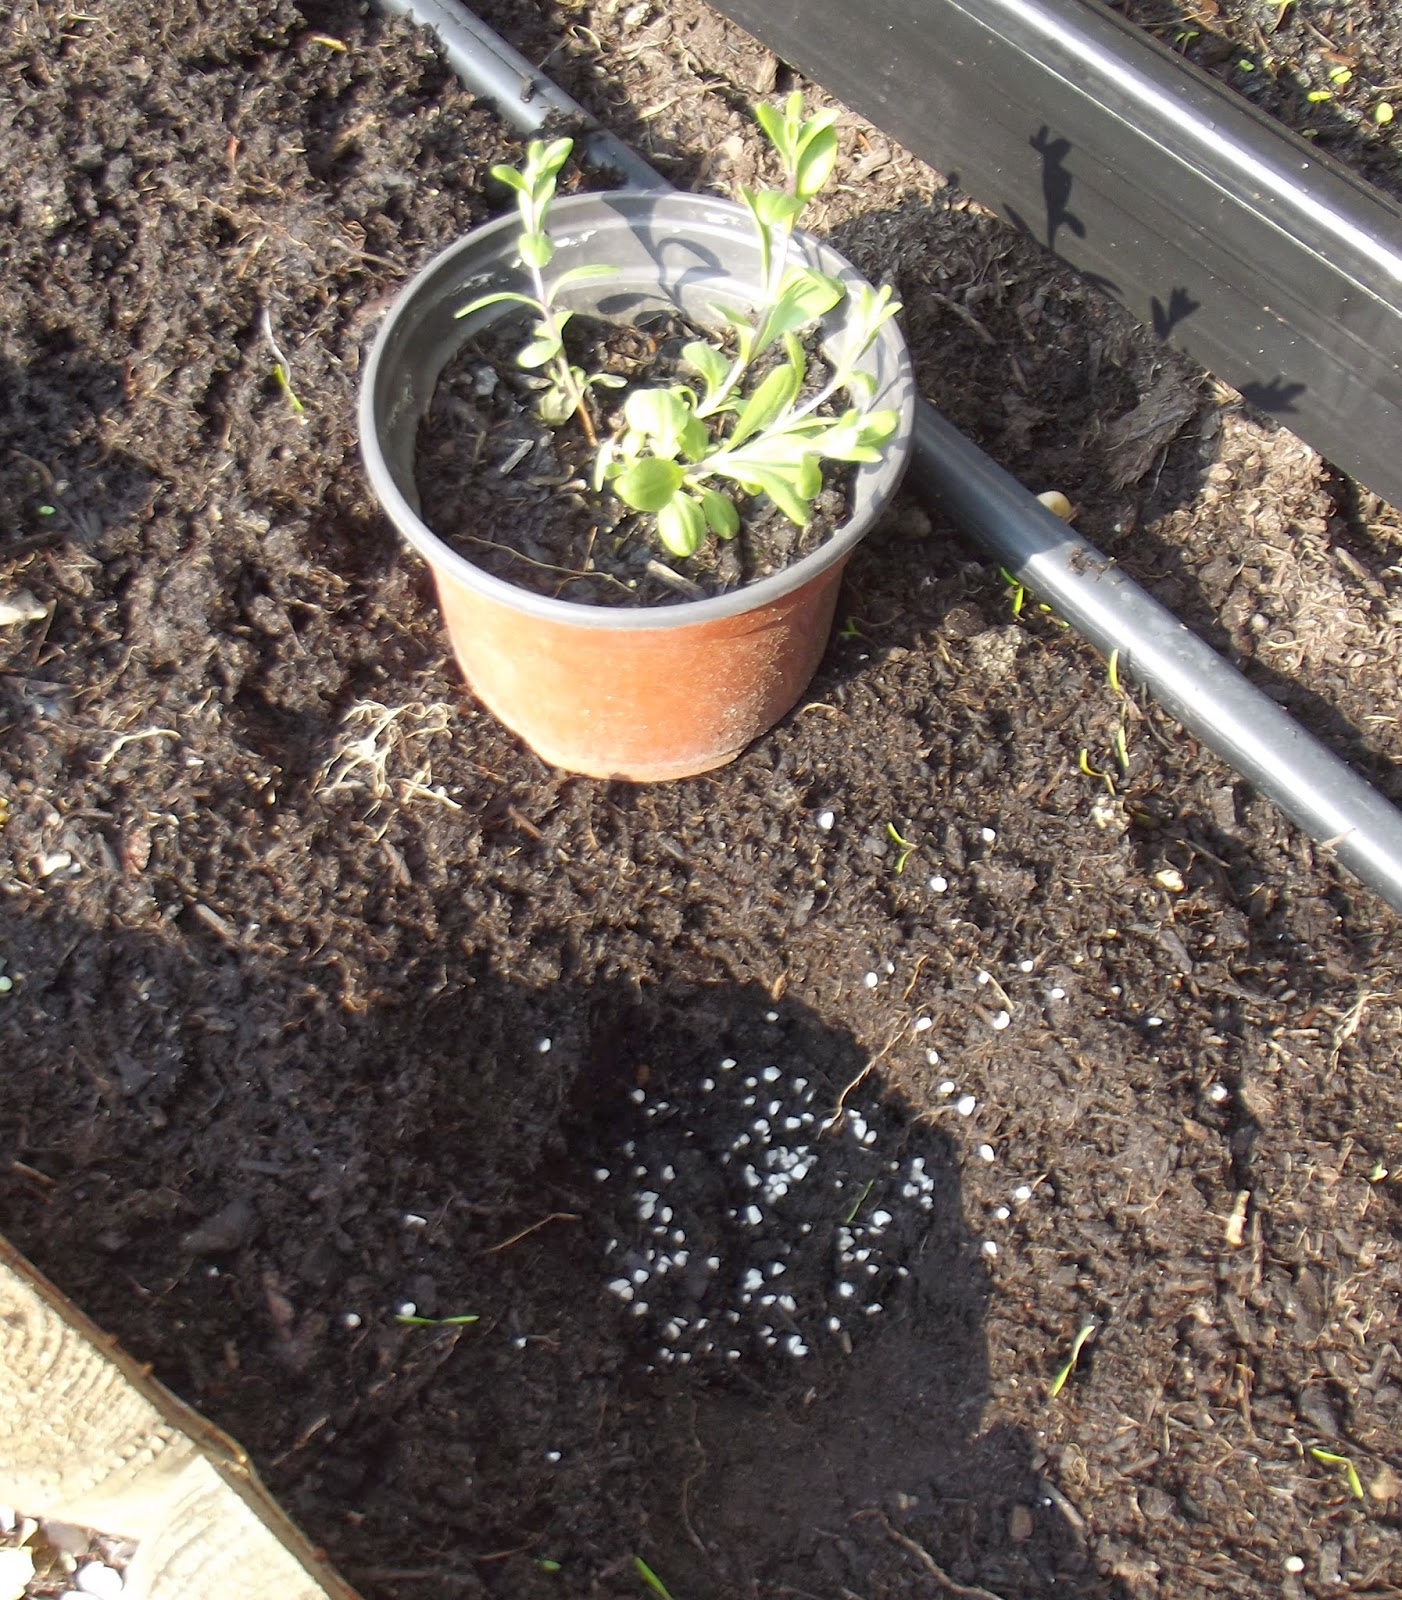
The fungi spores, native to the UK and grown here, are dried and bound in clay. To use them you just sprinkle them in the planting hole when transplanting, or add them to a drill under a sprinkling of soil before sowing seeds. I have put mine into an old herb jar with a shaker top for easy application!

Needless to say, I will be using this this year, especially under my new perennials, and have already added it when planting my strawberries and asparagus, and sowing my broad beans. Of course, switching to no-dig growing and using ground-covers will mean that fungi can survive much better in our soil from now on, and should colonise the area nicely, so personally I can't see myself using it year on year, but it certainly looks like it has great benefits for growers whatever their methods (look here for some photos comparing plants with and without mycorrhizae) and the RHS particularly recommends it when planting out trees, roses and shrubs, to ensure less transplant shock and help plants establish faster.


Mycorrhizal fungi apparently don't help brassicas, since brassica roots release a natural anti-fungal defence which stops them thriving, nor acid-loving plants such as cranberries, blueberries, heathers, azaleas and rhododendrons. Some other plants however, like grapes and roses, depend heavily on the mycorrhizae and can really struggle without them, and a few species of orchid cannot live without them at all.

It's crazy to think that our traditional method of digging the soil over before growing crops actually breaks this beneficial natural relationship that does so much good in the wild, and stops us benefiting right where we need it most. It's another one-up for no-dig gardening, and I can't wait to see the results!

Saturday, 29 March 2014

Allotment Week, Part Three - Green Manures and Ground Covers

I've dabbled a little with green manures before - mostly scattering phacelia seeds here and there at the last minute of the growing season and then cursing them when they finally appear the following spring right where I want to be planting stuff, and I can't bear to get rid of the lovely flowers before the bees have made the most of them... But last autumn I made my first serious attempt at using green manure properly.

The idea, in case you're not familiar, is that rather than leaving soil bare over winter (or at any time), you sow a cover crop of some sort. This crowds out weeds, keeps the fungal organisms in the soil happy, and protects the soil against leaching, erosion and so on - and when you're ready to plant crops again you dig in the vegetation to add organic matter to the soil. Now that I've seen our plot flood, I can see how important it can be to have roots in the ground, keeping the soil together and preserving its structure in case of extreme weather. The problem I typically have, though, is that I clear my beds too late to sow anything, or, as with the phacelia, poor planning means I want to plant right where a cover crop is doing its thing. I've also always been a bit wary about adding to my weed problem by experimenting with certain green manures which are reportedly not-so-easy to kill off when you're done with them! But after a lot of reading, I've identified a few green manures that I think suit my way of working:

Field beans, often grown for livestock feed and much-resembling a branching broad bean, are winter-hardy and germinate right up to November, so I can get away with sowing them really late in the season. And being in the bean family, their roots fix nitrogen in the soil.

Phacelia needs sowing by September latest, so I'm gonna have to try harder to clear some space for it late summer (maybe after the broad beans...?) but I think it's well worth persisting with for the lovely bee-friendly flowers it produces around May - if I can manage to leave it that long. It'd be ideal for whatever bed I'm going to grow squashes on, since they don't get planted out until May or June.

Mustard is a quick grower which is killed off by frost and can be left where it dies to decompose and mulch the soil. It's not quite the same as having something growing over winter, but I'm interested in giving it a try this year and seeing how it works out. Mustard is said to help keep soil pests under control too, so it might be good to grow this before potatoes.

White clover is hardy and long-lasting, and can be used as a 'living mulch' around perennial or widely-spaced plants. It keeps weeds down and has bee-attracting flowers in the summer, AND it fixes nitrogen. I'm going to start introducing this all over the place: we have already sown it over what is to be our squash bed (too late to sow phacelia here now for flowers by May) and I will start to scatter it round the edges of the perennial bed, letting it spread naturally. If it's growing where I want to plant, I'll simply pull it up to clear a space.

Buckwheat is a quick-growing summer green manure and to be honest, I'm not sure if I'm really going to fit it in anywhere, but like phacelia it has wonderful flowers, loved by insects, and it seems easy to deal with, so I wanted to give it a try and bought some seed anyway...

Back to 'allotment week', and our third big task was to clear last year's green manures and sow a new one. After our potatoes were harvested early last October we sowed field beans in their place, and they've grown pretty well through the mild winter, reaching a height of nine inches or so. But plans have changed since last autumn and I wanted to get some clover started here, so it was time for them to go.


Switching to no-dig gardening means we won't be able to dig our green manures into the soil, but instead we can cut down the growth and either use it as a mulch and let it decompose naturally on the surface, or add it to our compost heap. Leaving the roots in the soil means they'll add loads of nitrogen. Just look at the nitrogen-filled root nodules on this field bean stump I pulled up by mistake!


I cut the beans down at the soil surface, trying to get every shoot to reduce the chance of regrowth. I'm sure some of my allotment neighbours must have thought they were up-and-coming broad beans I was cutting down! The greens made a nice leafy layer on the compost heap.


I hand-weeded the whole bed after this - the beans don't keep weeds down as well as some other green manures are supposed to and there were quite a lot of young dandelions, docks and pineapple weed around. Then I raked and watered in some white clover seed over the whole bed. Hopefully it will have a good chance to get established as a living mulch before I plant the squashes out.

Mulching round plants helps to keep weeds down, reduce evaporation, and absorb excess rainfall in wet periods. A living mulch has all these benefits and more! It can attract and provide shelter for beneficial insects, it doesn't need replacing so often, and it has even been shown to decrease pest attacks in some vegetable plants. I'm really looking forward to seeing how this works out! Earlier this week I also read this interesting post by Alison of Backyard Larder, which talks about using edible plants such as wild strawberries and lambs lettuce as living mulches - something I am going to have to give some thought to now! I'm certain claytonia, one of my favourite home-grown salad leaves, would make a pretty great groundcover too, but judging by the way it gets everywhere in the garden I think it'd be a bit risky on the plot!

We did sow a spot of phacelia last year too, scattering it in odd patches where I pulled up individual squash plants. You can see what remains as a clump in the third bed in the picture at the bottom. I'd really like this to flower before I want to sow my root veg there... I don't think it's going to happen, but I'll wait and see, and if all else fails maybe I'll scatter a few seeds out of the way for the bees (and me!) to enjoy the flowers later in the summer!

So that's it for allotment week. We didn't get our potatoes in like we wanted to - no big deal as it's early yet - but we really did get a good headstart on the season, and did a lot of those little jobs that usually get pushed to the bottom of the list. If you follow this blog I'm sure you'll agree it's probably never looked this neat and tidy! Now, bring on some warmer temperatures and let's get some crops out there!


Thursday, 27 March 2014

Allotment Week, Part Two: Goodbye Digging!

Think about allotments or growing-your-own, and digging is probably one of the first activities that comes to mind. But digging, it seems, is not the best choice for the soil, and more and more gardeners are giving it up. I've been following the work of gardening author and teacher Charles Dowding, who promotes no-dig gardening, and the efforts of Roy and Tanya from Pushing up Dandelions, who created a wonderful and productive no-dig plot from scratch last year by bringing in mulch, manure and compost from offsite, and the advantages are clear:
  • It preserves and protects beneficial soil life: the six legged kind, the wriggling kind and the oft-forgotten complex fungal organisms that weave their mycelia through the dirt.
  • The soil develops a more stable and open structure, which admits air and water, drains well and can be walked on (carefully) without compacting.
  • The soil surface stays loose and is less likely to harden into a crust.
  • Leaving roots and other organic matter in the soil to decompose naturally adds structure and nutrients.
  • Regular digging means old weed seeds in the soil are constantly brought to the surface where they can germinate and grow.
  • Most crops actually establish better and grow faster in undug soil, thanks to its improved structure and microlife.
  • Digging takes a lot of time and can be jolly hard work!

(For more about no-dig gardening, check out this handy leaflet from Garden Organic.)

When we started out with our plot, I don't think we could possibly have avoided digging: the couchgrass problem was severe, and we couldn't have afforded to ship in enough compost to just cover it up - and anyway we wanted to grow in the fertile allotment soil, not shipped-in compost from goodness-knows-where! But now, having dug annually for a few years and finally gotten rid of most of the grass across the main growing area of the plot, we're making the big switch to no-dig gardening...


The two beds in the foreground of the pic above have only needed hand-weeding for the last year or so. We helped the third one along last year by basically digging all the soil out of it to about a foot deep, lining it with a couple of layers of thick cardboard to smother the grass, and putting the soil back minus the grass roots! Our squashes grew well here last year and again, it only needed hand-weeding. The cardboard will decompose eventually, but hopefully it will take long enough to smother and kill off any remaining perennial roots below.

Our card-lined no-dig squash bed!
The fourth bed, way over near the compost bin, is still chock-full of grass. We're planning to grow potatoes there this year and Eddie has started to dig it, but those plans may yet change to no-dig plans...


You will have noticed we've put in some (hopefully) permanent paths now, too, lined with weedproof fabric, edged with bricks and filled in with woodchip. This added structure will really help us keep control of things better, I think, and provides something of a barrier to any remaining weeds and those creeping in from the sides.

Taken last summer
So anyway, now we've got a big weed-free area, we're giving up on our thoroughly weed-ridden strawberry and asparagus beds, and planting a new perennials bed was our other main task for 'allotment week'. Below you can see how our old strawberry bed looks right now, and the asparagus bed is in the same state. Hand-weeding them every year when the couchgrass is obviously still so established is just soul-destroying. We were obviously very naive about how long it would take and how hard it would be to get rid of the perennial weeds!

Our old strawberry bed - yuk!
Our new perennial bed has 24 strawberry plants in two raised beds (Florence, Mae, Lucy and Albion runners transplanted from the old bed and from home) and two new rows of asparagus (10 x Gjinlim and 10 x Backlim). Eventually we'll also plant some globe artichokes, a perennial kale or two, and some herbs!

Asparagus crowns going in the ground
So here it is: our new perennials bed (with fox protection on the far raised bed, as we keep finding decomposing animals and bones in it!). There are still a few swedes and leeks here too, but we're getting through them fast now. It won't be long before the asparagus is popping through the soil and the strawberries start leafing up again!


In the meantime, I've taken some cuttings from our perennial Daubenton kale to go here...


...and I'm raising Green Globe artichokes from seed at home. They say you get a lot of duds growing artichokes from seed, so I started by sowing 20 seeds, and culled the weaker ones from the 16 that germinated, so now I have ten. I'll be sure to get rid of any others that don't keep up, and if there are still more than I can handle, I'll take the surplus to swaps! I have bought artichoke plants before but they struggled and died (they were in the troubled bottom end of the plot, where the compost bin now is) and they were expensive! Seed is much cheaper!


Of course, there's still some digging to do: we need to start from square one on the remaining grassy areas now, including the old strawberry and asparagus beds. But it's great to know we can now start to say goodbye to that back-breaking chore we had to get through each season before we could start the fun stuff, and I know the plot's going to be much more productive for it!


Wednesday, 29 January 2014

New Beginnings

Well hello. It's been a long time, but I finally got round to realising that the only reason I wasn't posting anymore was simply for that reason; because it had been such a long time. Sometimes the hardest part is just showing up, isn't it?

So I'm not going to do a big long catch-up about everything I've done in the last year - partly because it's too much work and partly because it'd probably bore you all in one go anyway (and because the last time I did that was only three posts ago, which is a bit embarrassing). Instead, I'll just let you know that last year was pretty good and plans are afoot for an even better year ahead.


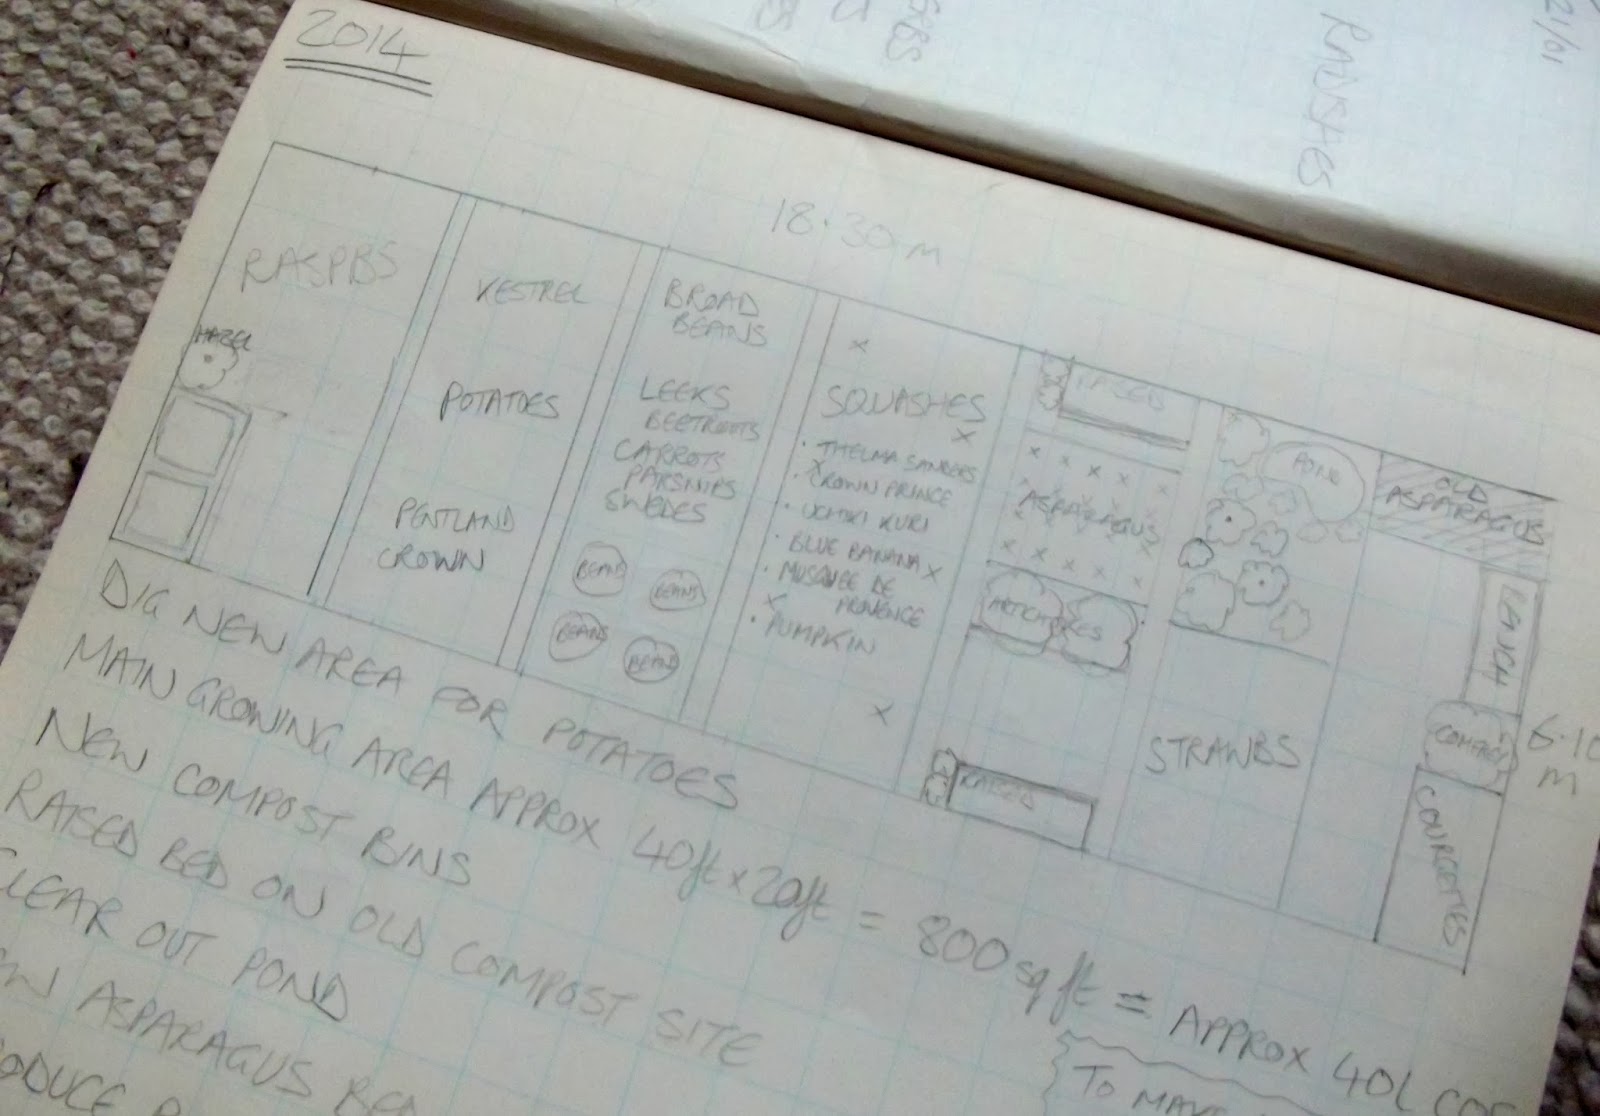
We seem to have finally beaten the grass in the middle section of our plot, allowing us to convert to no-dig growing for the most part, and this year we plan to work hard on the even grassier area down the bottom, and beat that too. This will involve some serious weeding and mulching of the raspberry bed, moving our compost bin to smother some of the troublesome grass, and digging over a tough area to plant our potatoes. Meanwhile, growing beans, roots and squashes on the middle part should be easy-peasy (though we've given up on onions and garlic thanks to the pernicious white rot in our soil), and we're going to commit one weed-free strip to perennial vegetables, including a brand new asparagus bed, some globe artichokes, and space for a new strawberry patch which we hope to plant next winter from this summer's runners. We've got some exciting new varieties to try, such as sweet-leafed stevia and Suffolk Herbs' "perennial salad mix", and we're also going to be trying out a new system for fertilising and remineralising the soil, from a fascinating book by Steve Solomon called The Intelligent Gardener: Growing Nutrient-Dense Food. More on all that to come!

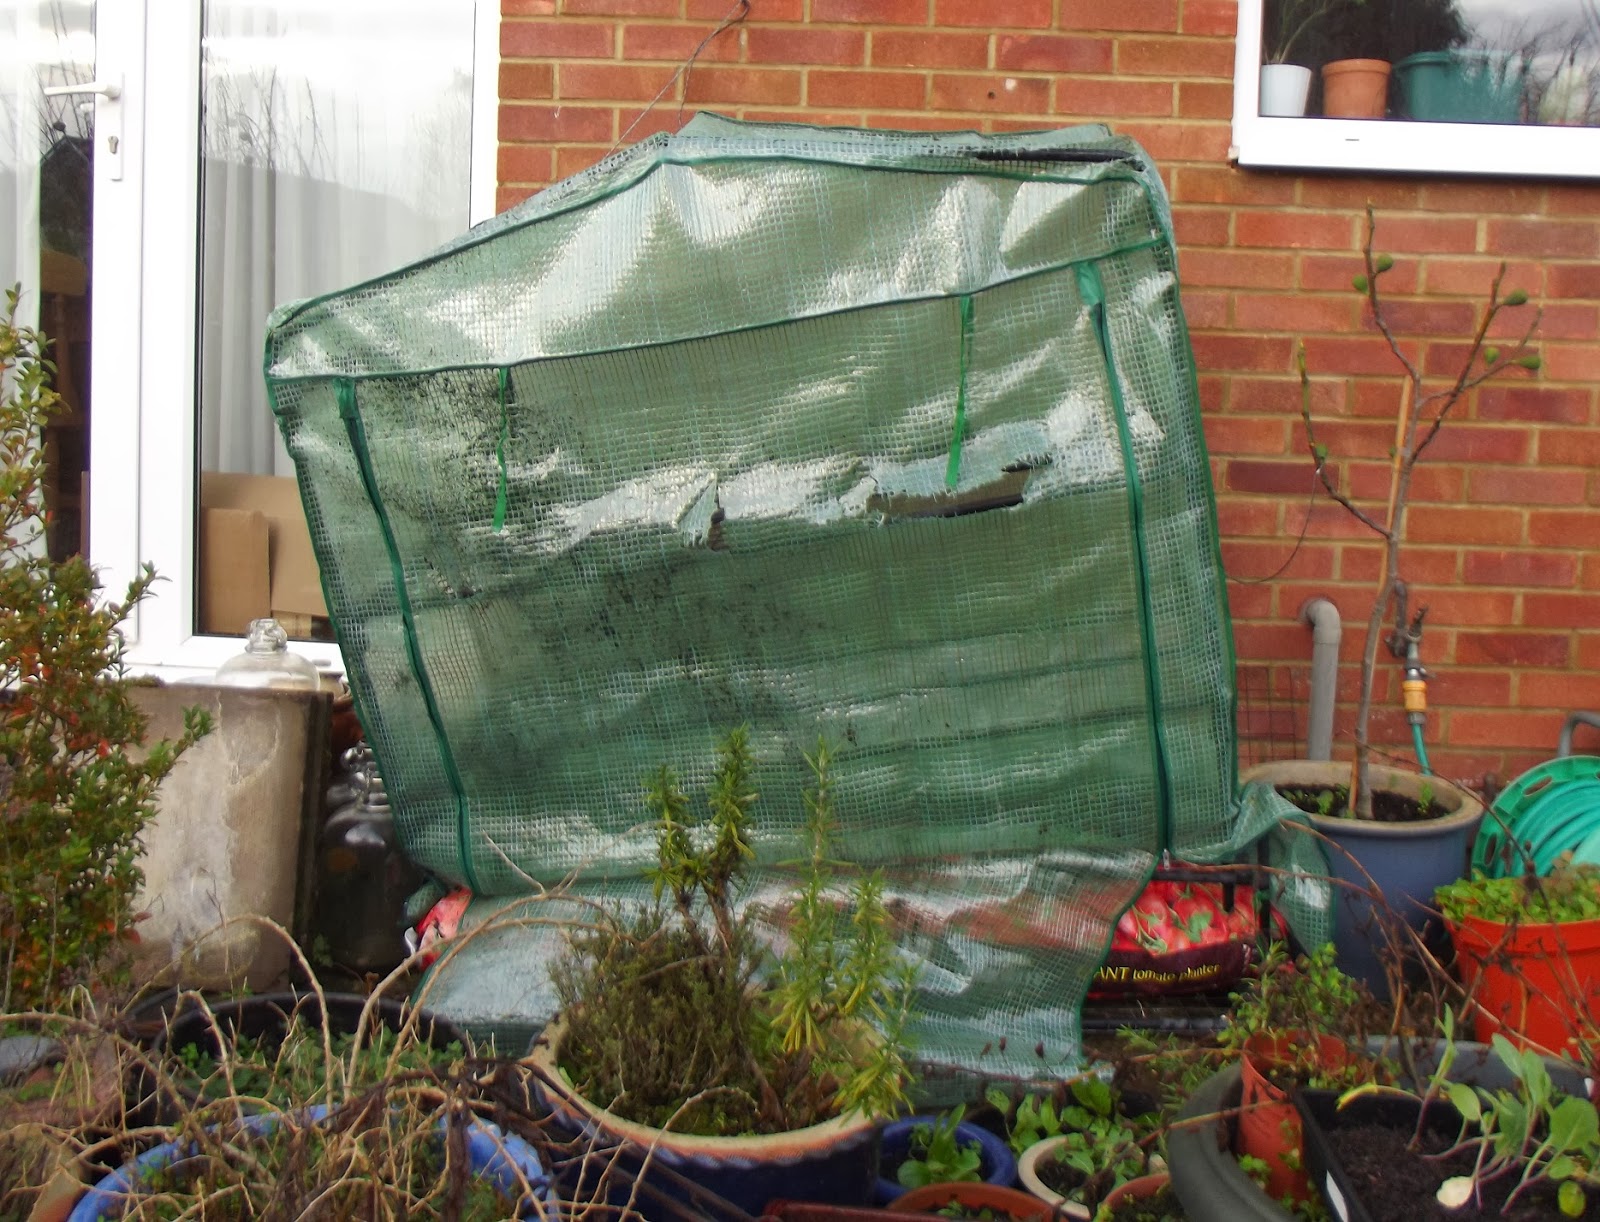
For now, I'm sitting on my hands trying to resist sowing seeds, and wondering if this is it for winter or if it's finally going to kick in next week... or maybe in March or April just to wind us all up... I will permit myself to sow peppers from 1st February but, well, this happened...


...so before that, my first priority needs to be somewhere new to put this year's tender seedlings!
Related Posts Plugin for WordPress, Blogger...